A kimono is, at its core, a remarkable piece of engineering: it is cut almost entirely from straight rectangles, with very little fabric wasted. That same geometry makes it surprisingly easy to repurpose. The panels are wide, the seams are straight, and the fabric — whether silk, rinzu, or cotton yukata — is often of a quality that modern mass-market textiles simply cannot match.
This guide will take you from sourcing a second-hand kimono all the way to a finished, lined bag with handles. We cover a simple tote style in detail, then offer notes on adapting the pattern for a clutch or a cross-body bag.
What You Will Need
Before you begin, gather your materials. You do not need a sewing machine — a hand-sewn kimono bag is entirely achievable and can be even more beautiful — but a machine will save you several hours.
Step-by-Step: The Kimono Tote Bag
Inspect and Wash the Fabric
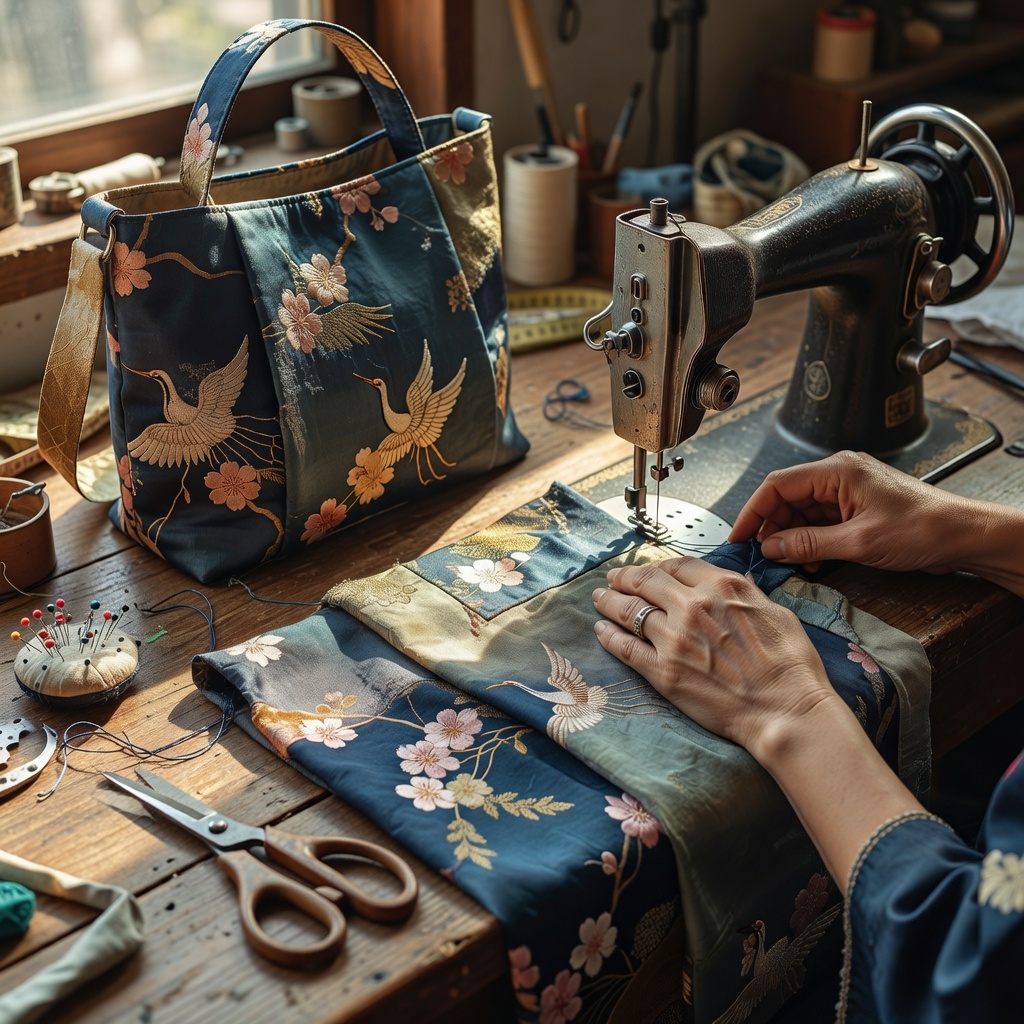
Before cutting anything, carefully open all the seams of the kimono using a seam ripper. Then hand-wash the panels in cool water with gentle detergent. Dry flat, away from direct sunlight, to prevent fading.
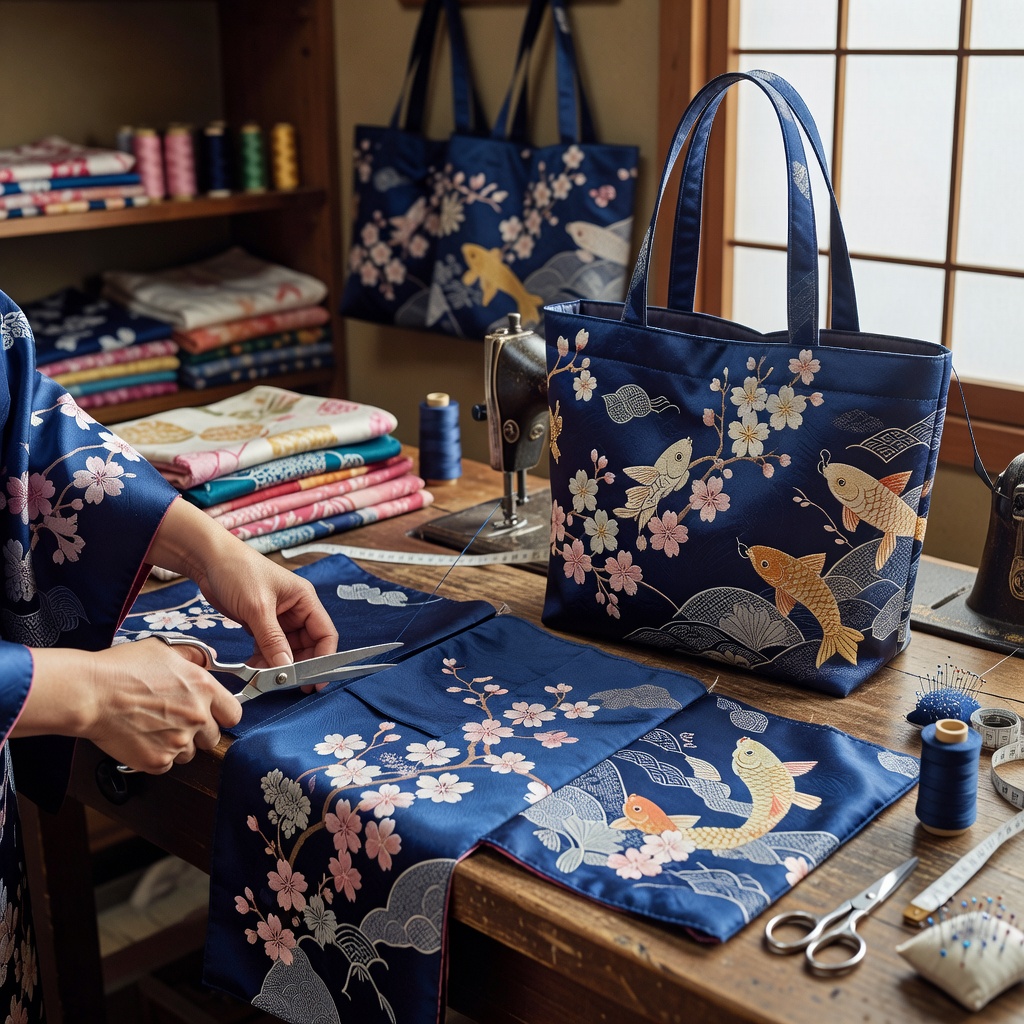
Choose Your Panel and Cut to Size
A standard kimono has several panels. The two front panels (okumi) and the back (ushiro-mi) are the most generous. For a medium tote, cut two rectangles of 40 cm × 48 cm from the main fabric and matching pieces from your lining cotton.
Interface the Fabric
Kimono silk is often too delicate to use alone. Fuse a medium-weight woven interfacing to the wrong side of each outer panel. This adds body and ensures your stitches hold securely for years of daily use.
Sew the Outer Bag
Place the two outer panels right-sides together and sew down both sides and across the bottom with a 1.5 cm seam allowance. Press seams open. To create a flat base, fold each bottom corner to a point and sew across at a 5 cm width.
Make and Attach the Handles
Cut two strips 6 cm × 60 cm from a contrasting kimono panel. Fold in half lengthwise, press, fold the raw edges in, and top-stitch along both long edges. Position handles 10 cm from side seams and reinforce with a rectangle of stitching at each attachment point.
Construct the Lining and Join
Sew lining pieces together the same way, leaving a 12 cm gap at the bottom centre seam as your turning gap. Drop the outer bag (right side out) into the lining (right side in), matching top edges. Sew all the way around the top edge, then pull through the gap, press, and slip-stitch the gap closed.
Add a Closure and Finishing Touches
A magnetic snap sewn through both layers before assembly gives a clean closure. Alternatively, a knotted fabric loop and a vintage button sourced from the kimono's original closures is a more traditional finish. Press the entire bag one final time.
Adapting the Pattern
Clutch Bag
Use a single panel cut to 38 cm × 28 cm, fold in half widthwise, and sew the two sides. Attach a zip along the top using a zip foot on your machine. A small wrist loop made from a narrow silk strip completes the piece.
Cross-Body Bag
Reduce the main panel to 26 cm × 30 cm and add a structured base insert cut from thick card covered in matching fabric. A pair of D-rings stitched at the top of each side panel accepts an adjustable strap. Use the obi (sash) fabric for the strap — it is already the right width and length.
Caring for Your Kimono Bag
If the outer fabric is silk, spot clean only with cool water and a cotton cloth. For cotton yukata fabric, a gentle machine wash on a cold delicate cycle is usually safe. Store the bag stuffed with tissue paper to keep its shape, and use it regularly — let it gather its own new layer of history.